This post may contain affiliate links. If you purchase via these links, you don't pay anything extra, but I do make a small commission.
Hey Everyone!
I've been working on hand-quilting my bulls eye quilt and so I've been discussing it online. I've had a couple of requests for directions on how to do one so here goes!
Keep in mind, I'm not an expert quilter or photographer. In other words: please, be kind!
I've only done one bulls eye quilt top so far. It's going to be used in some of the photos near the bottom of this tutorial. For this demonstration, I'm using white/black and black/white for my backgrounds because I like them. You can use whatever your little heart desires, but remember that contrast between your squares of fabric and your circles of fabric is what makes this type of quilt "pop".
Here are the squares I'm using:
You will want to cut your squares 11". If you follow all of the steps I outline here, your finished individual blocks will be 5" square. There is an option part-way through that will give you the choice to end up with 10½" finished blocks (don't stop there though, the smaller blocks are way more fun!).
Next, you're going to need some sort of circle templates at roughly 8", 6" and 4" in diameter. Dinner plates, bowls, and glasses are free options to try. I have made my own out of the same type of acrylic that most quilt rulers are made from. Unfortunately, this is not something you can do at home. I can because I own a trophy shop as my "real job" and I have a laser engraving machine that will cut the acrylic. Mine are covered with "stuff" because I use this acrylic on top of weird objects I need to engrave so I can check layouts without damaging the actual item. Once they get too much engraving on them, I recycle them into quilting templates and rulers.
To make cutting your fabric circles with a rotary cutter, a rotating cutting mat is wonderful! Mine has seen better days (which is why a new one is already on it's way to my
lair home.
Here are the fabrics I'm going to use on the black fabric square:
The one that you will
notice the most is actually whatever fabric you use for the smallest circle. I didn't bother my "math" sister to calculate which one really has the largest surface area showing 'cause she'd launch into a technical description and I really don't care. :-) Two of the fabrics are going to be arcs and one is like a wedge of pie (if I'm cutting myself a slice).
Here's the smallest circle as I'm getting ready to cut it out. I didn't take a photo when I did it, but it's much easier to cut out the circle if you trim your fabric into a rough square just a bit bigger than the circle first.
Here are the 3 circles that are going to go on my black fabric:
Now the fun starts! Lay out your background square, face up, and center your largest circle, also face up, on top. You can see that I've used my ruler to make sure it's centered. I really consider that to be an optional step. I only did it for the photograph and using the ruler wasn't necessary because I got it "spot on" without the ruler.
Pin the circle in place. It really only needs two pins to keep it from slipping as you sew. Make sure that they are far enough away from the edge of the circle to avoid hitting them with your machine's foot.
Sew from the front of the block. This is one instance where "slow and steady" really does win the race. It's easier to maneuver the curve at a slower pace.
One way to help pivot the fabric, is shown by the position of my left hand in this photo. I'm "guiding" the fabric with my pointer finger but holding it down at the circle's center with my middle finger. This creates a pivot point to force the fabric to rotate rather than go in a straight line. Kathy Blomquist had this tip: "You could use the thumb tack and tape trick to make sewing the circle easier. Position tack in the center of tape, sticky side down,then in center of your circle,position sewing line then press tape to machine bed to the left of the needle. It makes the fabric go in a circle."
Thanks for the tip, Kathy!
Sew all the way around the first circle
about a ¼" from the outside edge. A bit of wonkyness just adds to the charm of the finished block.
You can see that I did overlap the ends of my "seam" a bit. I did this more as a habit than necessity. You're going to be cutting the block right through the stitching so the overlap doesn't help. I am using black thread so that it shows in the photographs but you can use whatever color you want! I have some blocks in my quilt (shown below) that use a zig-zag stitch and others that have different colors of threads. My quilt top was made from blocks from an exchange and I like the way the different blocks reflect their makers.
Yes, you are going to end up with the raw edges of all your circles showing. Again, this is part of the block's charm! To prevent bulk though, you're going to need to do some cutting. Like right now!
This looks odd, but it will keep you from cutting the fabric you want to keep. From the center of the square and the center of the circle, pull the two fabrics away from each other. Right now, you want to protect the fabric circle as you cut the fabric square. I know there's a square peg/round hole joke in here somewhere.
Once your fabrics are away from each other, cut a nick in the square (black fabric) inside the sewn line about ½" from the thread. Now you can lay the block flat, wrong side up. I wasn't thinking properly at the time and nicked mine in the middle. It still works, but if
you do it nearer the sewn line, you can end up with a circle that can be used on a future block. I threw my semi-circle into my crumbs bin so it will get used eventually.
As you can see, the cutting isn't precise and doesn't need to be. I'd say that I cut about ½" from the sewing.
I ironed the block from the front after each cut. It's not necessary but did help with the photos.
Next, you are going to add the 6" circle to the block. I didn't "line it up", I just eyeballed it. Pin and sew.
Again, you're going to have to remove some bulk (oh, if weight loss were only this easy!). This time, you're going to be cutting fabric from the larger circle (blue fabric).
Now it's time to add the little bitty 4" circle. When you pin this one, you really need to pay attention that you're leaving enough room for your presser foot to have clearance.
Once more, a little cutting is required. This time, it's going to be the pink fabric. By the time I got to the third circle, I'd figured out the bit about making the nick near the sewing line. It doesn't take me all day to figure things out. ;-)
You can stop now and have a lovely bulls eye block which will finish at 10½" square, or you can continue on to a bigger adventure with smaller blocks. Is that an oxymoron? Nope, don't think so.
If you've chosen to carry on, woohoo! Now would be a good time to iron your block from the front. Then with your block right sides up, whack it! No, don't hit it. You're going to cut it in half both directions. This will give you four 5½" blocks.
Here is what the other block with the white background and different fabrics for the circles, looks like:
Now comes the really fun part: setting options!
Just make a simple variation of the original block...
...or get a bit funky:
Make a bunch of blocks using different background fabrics (remember the contrast though!) and different circles and play around with settings. Here are a couple of the options I tried:
A simple diagonal setting:
Same diagonal but with the backgrounds separated (black/white on one side, white/black on the other):
Circles behind circles:
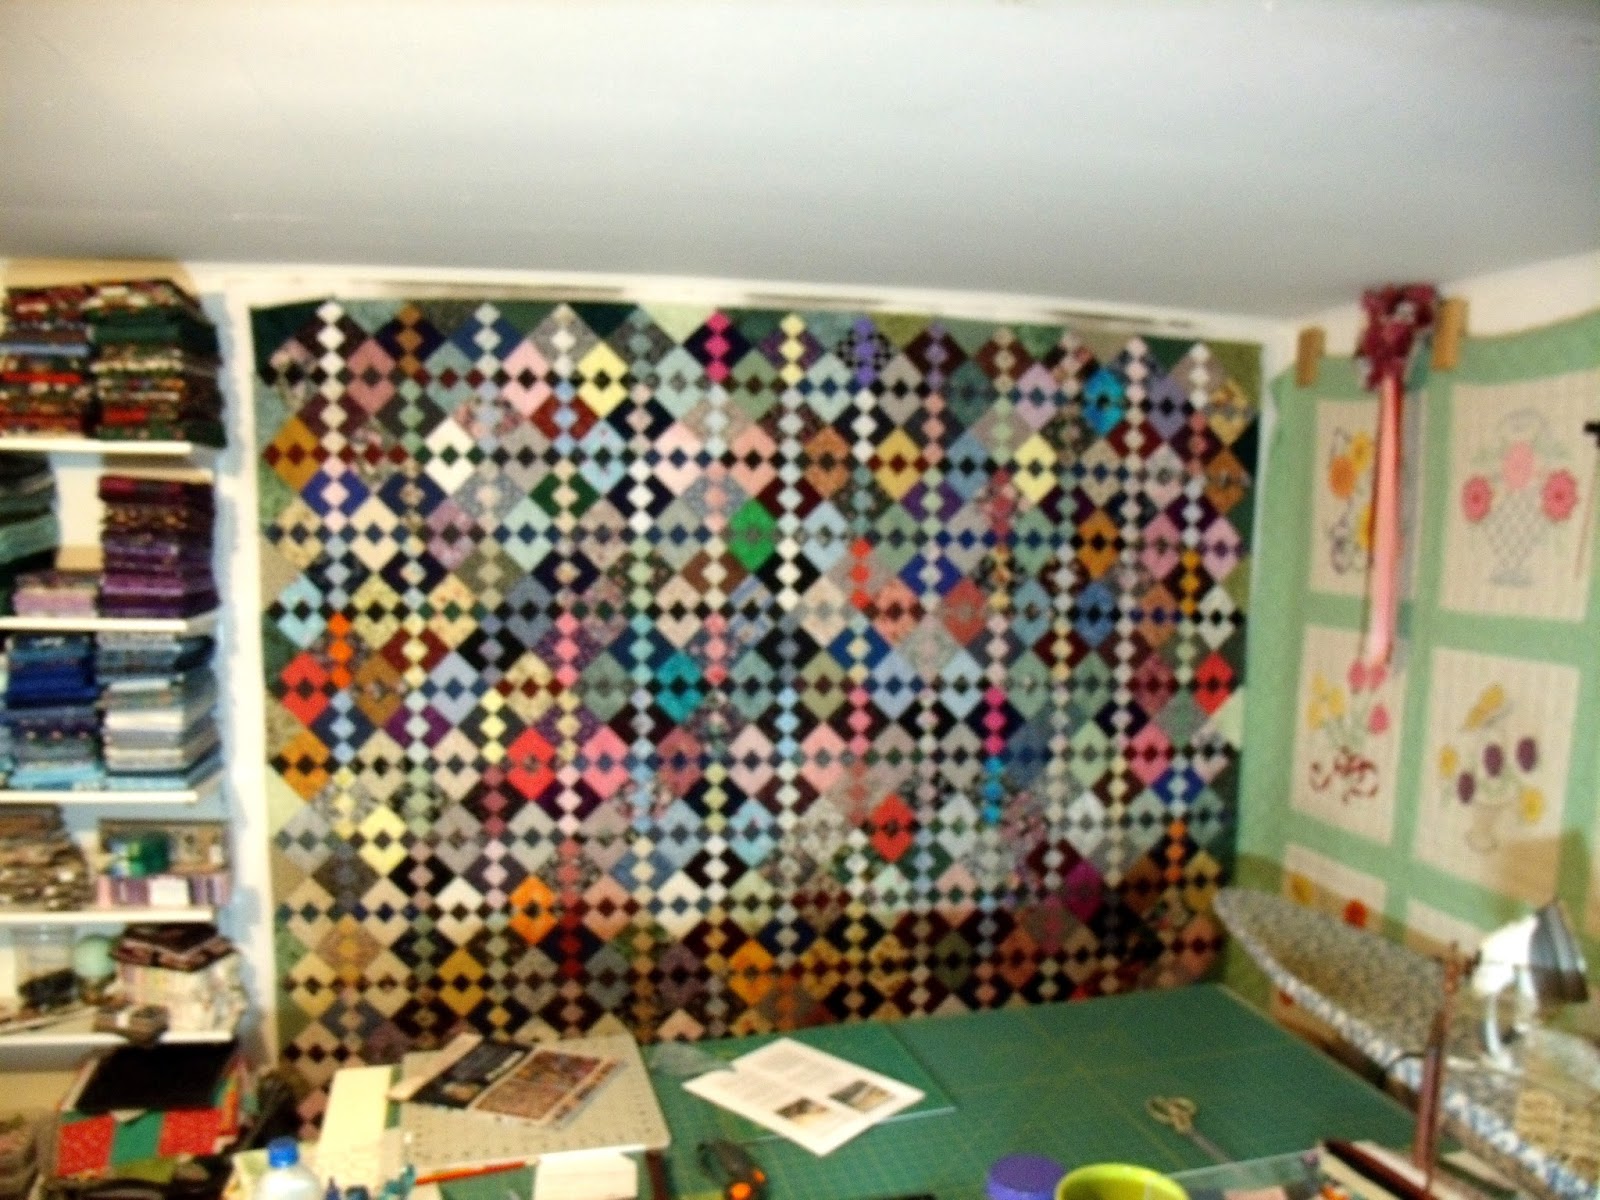
...and what I ultimately went with, sort of a wobbly squares effect:
Add borders of your own choosing. I went with black and white but black and red would be very dramatic.
I hand-quilted this one on my
Grace EZ3 frame. I'm doing a stippled oak leaf in the black border, a simple () shape in the white border and a rose stippling in the blocks. I'm using a red/yellow/blue thread called Essentials, primary colors from Connecting Threads.
And here is the completed quilt:
As you can see, I created a scrappy binding for it. I love scrappy binding against a "solid" border.
Here is a simplified version of the steps:
- Cut 11" squares of background fabric.
- Cut circles in 8", 6" and 4" sizes.
- Center an 8" circle right-side up on a square also right-side up and sew ¼" in from the edge of the circle.
- Flip block to the back and cut out the background fabric about ½" inside the sewn line.
- Center a 6" circle right-side up, on the 8" circle; sew in place.
- Cut out the back of the 8" circle about ½" inside the sewn line.
- Center a 4" circle right-side up, on the 6" circle; sew in place.
- Cut out the back of the 6" circle about ½" inside the sewn line.
- Flip to the front and iron the block. You can stop here for a 10½" finished block (boring).
- Cut the block down the middle both directions.
- Throw out all your inhibitions and mix those blocks up!
- Sew your blocks together in your chosen setting with ¼" seams like any standard quilt.
- Add borders (or not) of your choosing.
- Sandwich, quilt and bind as desired.
- Enjoy your new work of art!
This block is great for exchanges! If you do it as an exchange (like my quilt above), follow all the steps through #10. Keep one of the quarters of each block and swap the other three. That way, your quilt will have some of your own blocks as well as those of other quilters. This swap works really well if one person acts as host/hostess and "scatters" the blocks amongst the participants. Don't forget that everyone would have to include a SASE to get their blocks back!
Happy Stitching!
Stacy