I should tell you why I do my own framing. The main reason is cost. The second reason is having spent so many hours working on these projects, I really don't trust anyone else to have control over them.
Here's what I got and what it cost to do both these Santas.
From PictureFrames.com:
- Frame x 2
- Mats x 4
- Foamcore x 2
- Acrylic x 2
- Framing hardware x 2 (there's always left over clips, which I do save)
Additional costs would be the wrapping paper backing and the double-sided tape. That's less than $2. The last frame I purchased in a frame shop cost me $90US and that was just the frame! No mats, glass, foamcore or hardware and I still did all the work!
Now on to the framing!
I pin my projects for framing rather than lacing. Either way is fine, I just prefer the security of the pins.
You would need these items:
- Frame
- Mat(s), optional
- Spacers (only if no mats)
- Foamcore
- Acrylic or glass, UV protective is fine; non-glare will just make the stitching look blurry and isn't protective
- Stainless Steel Pins (even if lacing)
- Counting pins or large headed pins
- Thread - I use hand-quilting thread (unwaxed dental floss is also an option)
- Needle - this should be a sharp rather than blunt
- Screwdriver
- Wire cutters
- Awl, optional but very useful - I have misplaced mine so I had to do without
- Ruler
- Some sort of blade - I use a quilting rotary cutter but a utility knife would work too
- Framing clips - what holds your piece in the frame, style may vary
- Wire
- Eye hooks (2)
- Brown paper or wrapping paper
- Camera if you want a photo of your framed project (you will take a photo during the framing process)
- Your completed cross stitch, of course
This is the most important part of the process. If you mess this up, it won't look good in the frame no matter how gorgeous (read, expensive) the frame is!
Oh, I should mention that in the photos Santa might appear to be having an identity crisis. He couldn't make up his mind if he wanted to be wearing red or black. Just depends on how photogenic he was feeling at the time.
Lay your piece face up on the foamcore:

Get it approximately centered on the foamcore. Since I decided that I didn't want my "signature" to show, I'm ignoring it for this entire process.

Place a large-headed pin in the center of each side. This is just to keep it from shifting while you measure.

The order doesn't really matter as long as you do opposites together (top/bottom or left/right). I measured from the bottom of the stitching to the edge of the foamcore. I then measured from the top of the stitching to the edge of the foamcore.


In the photos, the bottom was about 2.375" and the top was about 2.5". I removed the top and bottom pins to allow me to move the fabric slightly toward the top. That increased the amount at the bottom and decreased the amount at the top to even it out. It was a small amount so I didn't have to remove the pins on the sides for the little adjustment. I replaced the top and bottom pins.
I measured the remaining sides of the project and make any necessary adjustments.
Now this is where I'd say I'm OCD...I'm not, but I seem to have the occasional OCD moment.
Using the counting pins (or other large-headed pins), count from the outside edge of your stitching to the edge of your foamcore. Ok, I didn't use large-headed pins to count but I was too lazy to get off my butt and grab some. In this photo, the uppermost twig is the stitching at the edge of the design. My count is based from the hole that lines up with the twig. The first pin is 25 holes and the second is at 50 holes from the stitching. Using multiple pins helps keep you (me really) from losing count.

I kept counting until my pin lined up with the center of the foamcore edge. It ended up being 62 holes. I then counted 62 holes from the opposite side of my stitching towards the center of the foamcore edge. Hmm, 62 holes was a tad bit short so I went to 64 which was still a tiny bit off from the center of the foamcore (where the real, large-headed pin is). Switching one side to 64 meant that I had to change the other to 64 as well. Making that adjustment let me put pins in the foamcore on both sides at the same distance from the stitching.
I moved my large-headed pins into the "64 hole" and then counted in the other direction (in this case, top and bottom). The measurements top and bottom also came out to 64 holes. This is not always the case! I was really surprised with this one because the fabric is true linen which isn't always "square" due to the fabric threads being uneven thicknesses. Again, I switched my bigger pins to the appropriate hole.
Now comes the
The pins I use are stainless steel because they won't rust! They are 1" long with small but noticeable heads.

I usually start on one of the long sides, in the middle. I work from the middle to one corner, then from the middle to the other corner. I don't measure how far apart they really are but I'd guess ½" - ¾". Until I have them all in along one side, I leave them sticking out. I don't think there is a particular reason why I do, I just do.

Once they're all spaced, I push them in. Sorry it's hard to see in the photo. I think the little beggars are camera-shy.

I then do the opposite side the same way. I think I do the long edges first because when I get to the third side, I'm definitely more than half-way done. I do the same along the other two sides and voila! the pinning is done.

Hmm, there's all that extra fabric What to do, what to do? Truss it up I suppose!
I started at the bottom left corner. Folded the point of the fabric in.
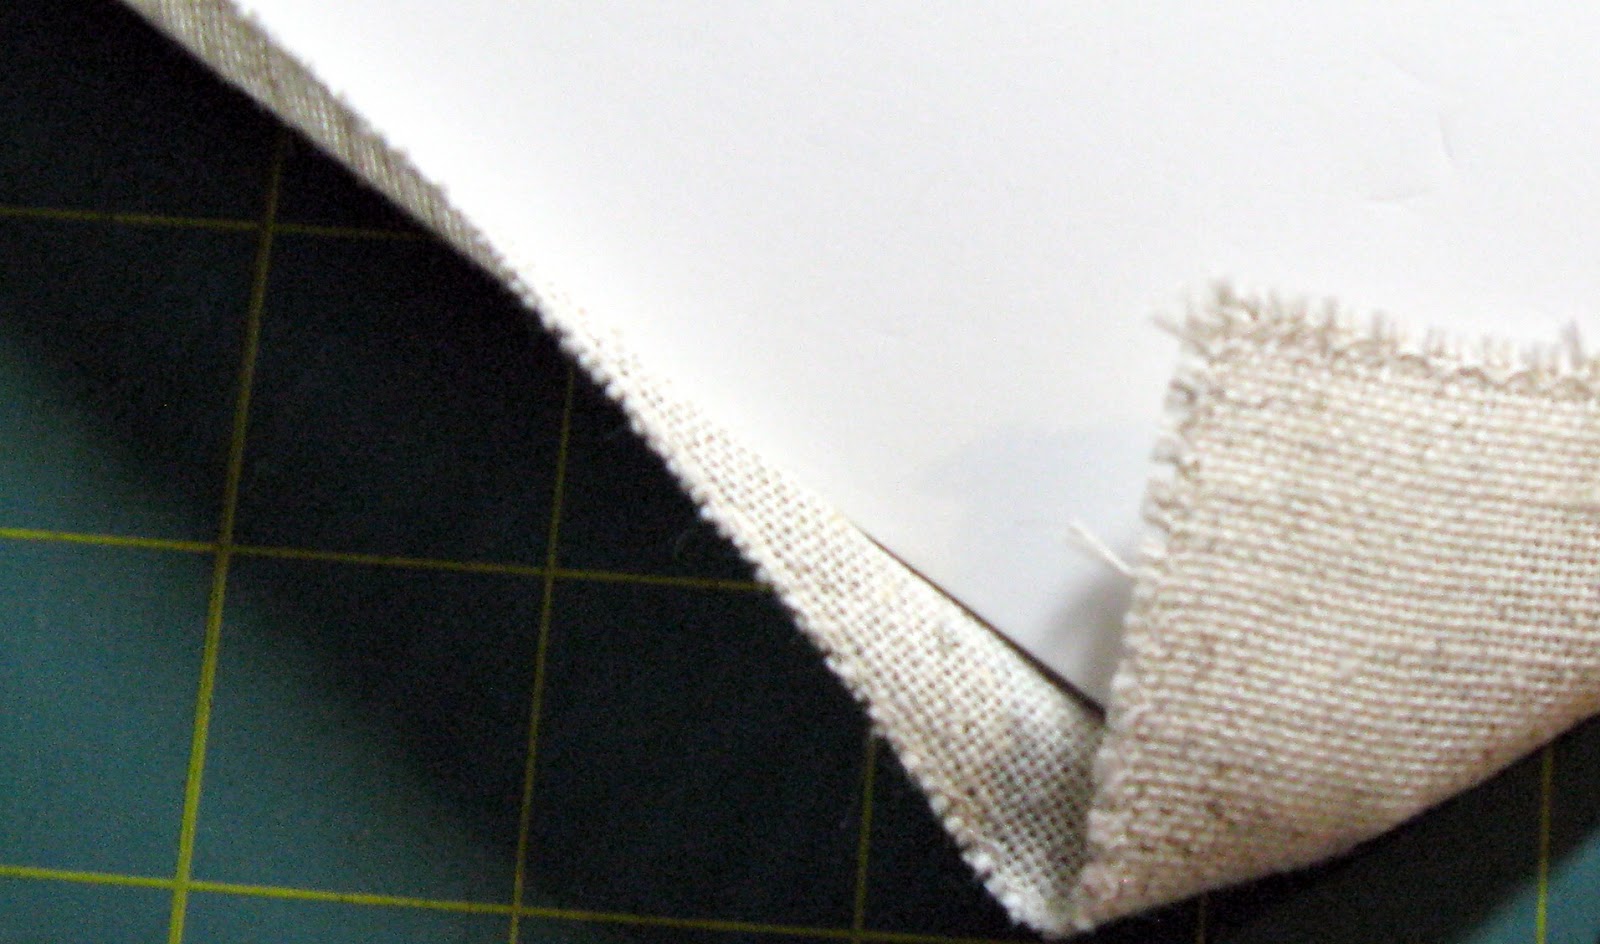
Folded the excess from one side than the other. This is when I needed the needle and thread. I use a single thread of hand-quilting thread. I ran it through the folded fabric and tied a knot. I should mention that I'm a bit lazy. Rather than have to cut more thread part-way through, I use a really looonnngg length of thread - probably close to two-yards long.

I then went to the bottom right corner and folded the fabric the same way. I ran the needle and thread through the corner fabric like in the photo above. I then zig-zagged my way up the sides (the narrow way) until I reached the top corners. I do really big zigs and zags. If you are ultimately lacing your project (removing the pins), you would want to space your zig-zags close together like the pins were and keep the thread as tight as you can.

When I got to the first top corner, I folded it like the previous corners and anchored it with the thread. I then started zig-zagging from top to bottom (the long length), until I reached the remaining corner. The corner got folded, threaded and then the thread got knotted off. I only lace to keep the excess fabric from flopping around like a fish - my pins stay put. If you are lacing your project, now is when you would remove the pins.
Here it is from the front, looking all tidy.

Whew! The hard part is done!
Framing the Piece
When I got the box containing my 2 frames, they were well-packaged! I had a little "prep work" to get them ready to use. The acrylic had a protective sheet on each side which needed to be removed. The mats were protected by the 2 pieces of foamcore so I had to separate them (they were lightly taped).
I took the frame and put it face down on my work table. I then popped in the appropriate mats (white/maroon) and the red Santa. At this point, that's all I did - no acrylic, no clips, nothing else. I turned the whole thing over and took a photo.

Sometimes, I hang it on the wall to photograph it but this was easier at the time. The reason that I photograph it now is no glare or reflections! It is completely framed/matted and perfectly photogenic.
I disassembled it, put in the acrylic, added the mats, and then popped in Santa. Now is the time I really looked at it and checked everything. I made sure there are no fingerprints or dust on the acrylic (the second one took forever to clean - there was a lot of fuzz and fingerprints). I checked to make sure the mats were aligned properly (they are two separate pieces so they do shift). I made sure Santa had the same amount of space all around him.
Then I carefully turned him back over and clipped everything into place. The clips I used came with the frame.

These clips rock! They are made for one end to fit in the channel on the frame and the other puts just enough pressure on the piece to keep it in place. They also don't need any special tools, just thumbs!
I started on the long edge and put one near the corner, one near the center and the last one at the corner. Across the narrow edge, I only used one in the center.
I like to make my framing look as tidy as possible. I also don't want dust or anything else to get to my fabric so I like to really finish off the back. I started by putting two-way (2-sided tape) all the way around the back of the frame. I like to get it as close as possible to the edge. Since this tape doesn't come in contact with my fabric, I actually use the tape from my trophy shop. It's not acid-free but like I said, it doesn't touch my fabric. It's the yellow around the edge.

I could use regular brown paper like grocery bags or parcel wrapping for mailing, but this is a Santa - Christmas wrapping paper!
I cut a piece slightly larger than the entire frame. The paper is actually sitting on the frame here:

I take it off and peel the yellow paper off one of the tape strips. I started with one on the narrow edge. If you look closely at the photo of the tape, you will see that the long strips go to the edge of the frame and the narrow strips fit between the long ones. By pulling a narrow one first, I still had easy access to the paper on the long strips. You'll thank me later for that tip!
I put the Christmas paper back over the frame and carefully pressed it onto the one exposed tape working from the center out. Then I uncovered the tape on the other narrow edge and keeping the wrapping paper taut, I pressed that end down. I then did the same to the two remaining sides.
Now I needed to trim the excess paper. This is when it's handy to have other hobbies - you can "steal" the tools from them. I used a quilting ruler and rotary cutter. If you are a quilter, don't freak out - I have a rotary cutter that I use just for stuff like this and a separate one for actual quilting projects.
First I just finger-pressed the paper over the edge of the frame so that I could see where the edge was.

I then put my ruler as close to the edge as possible and whacked off the excess with the rotary cutter.


Now I need to measure for my hanging wire. I took these photos before I put the paper on because there was better contrast. I measured the overall height of the frame. You always measure from top to bottom for this step even if your piece is wider than it is tall. My frame is just under 16½" tall.

Then I measured from the top edge, down just a bit over 4". The rule of thumb for hanging with wire is to be down ¼ of the overall height. 16.5 ÷ 4 = 4.125 (or 4 1/8"). For the photos, I made a mark down 4 1/8" from the top on both sides. Normally, I just measure down and use my awl to make a pilot hole.

Now here's a tip from the sad voice of experience. As you can see in the above photo, my mark is near the edge of the frame. That's not a problem as long as you check your frame first! If you have a frame that has a profile like this:

Now I attached the hanging hardware. In this instance, they are eye hooks. The screwdriver is much easier to hang on to than that tiny little eye hook. So 'round and 'round goes the screwdriver. I made sure that the base of the eye just barely came into contact with the back of the frame.

The eye should also end up parallel to the side of the frame.

Next I had to attached the wire to the eye hook. I made a loop near the end of my wire and inserted it in the eye hook.

Then I took the end of the wire and fed it through the loop and pulled it snug. The excess end wire got wrapped around the main wire. You may end up using the plier part of your wire cutters to twist the very tip as close to the main wire as possible to prevent it catching on the paper, your finger, etc.

Most of the time, I have way more wire than I need - hence the wire cutters. I tightly pulled the wire across to the other eye hook then gave it a little slack and made a loop like before. Once I'd done this, I could see how much excess wire I really had and I cut off the extra.
Just in case you don't know what wire cutters look like, here you go:

These are needle-nose pliers with a wire cutter. The very base of the "v" of the pliers is the wire cutter.
Here is how much slack I left in the wire. It doesn't need much, but it does have to have some or it would be impossible to adjust the way the frame hangs.

For reference, the top of the frame is on the left.
Now for the Santas to finally be seen together:


Happy Stitching!
Stacy
4 comments:
Awesome post I'll be using this :)
Wow, that truely is awesome! I now feel a strong urge to re-frame my Angel of Frost I did last year...
Wish I had known ALL of this when I framed Queen Bee! this is VERY good information. Thank you so much for sharing and teaching.
This is awesome. Thank you so much for this tutorial.
Post a Comment