Showing posts with label quilting. Show all posts

Sunday, April 21, 2024

Quilt finish!

 I just finished binding my pink/purple quilt!  I hate doing the binding, well the blind hand-stitching part at  least.

This quilt was an internet project of sorts.  I sent the center squares (6 each) to various people and asked them to put simple borders on each square and they sent back 5.  I was doing the same thing with the squares I was receiving from the same people.  I wanted to mix mine up a bit, so the blocks that I got back, I cut in half on the diagonal before assembling the quilt.

Since I now have a longarm that I’m still getting used to, I used this quilt as a practice piece.  My middle sister had never used a longarm before so when she was here for Christmas, I showed her what to do (paper pantograph tracing with laser) and let her go for it.  We lovingly refer to this as “drunk quilting” ‘cause both of our efforts look like we were plastered in spite of being stone-cold sober.  We had a lot of fun!

Here’s the finished quilt:


The finished quilt is 67” square.

Happy Stitching!

Stacy

Friday, December 1, 2023

I'm still here!

Hi to those of you patient enough to stick around!

I am still here!  I have still been working on my various crafts, just for some reason I have forgotten to share any of them.

Here are some updates (life, crafts, whatever).

In November 2022, hubby took me to Disneyland to see it decorated for Christmas.  I've been there multiple times, but never for Christmas before.


We spent Thanksgiving on the Oregon coast.  Yes, I know it's a Christmas setting, but it was at our hotel.


In early December last year, hubby took me to Leavenworth, WA.  It was phenomenal!  There was obviously snow on the ground, but the passes were clear, so no worries with driving.


I finished my Christmas string quilt last year in time to have it out during the holidays.  I’ll see if I can get a better photo, this is the only one I could find.


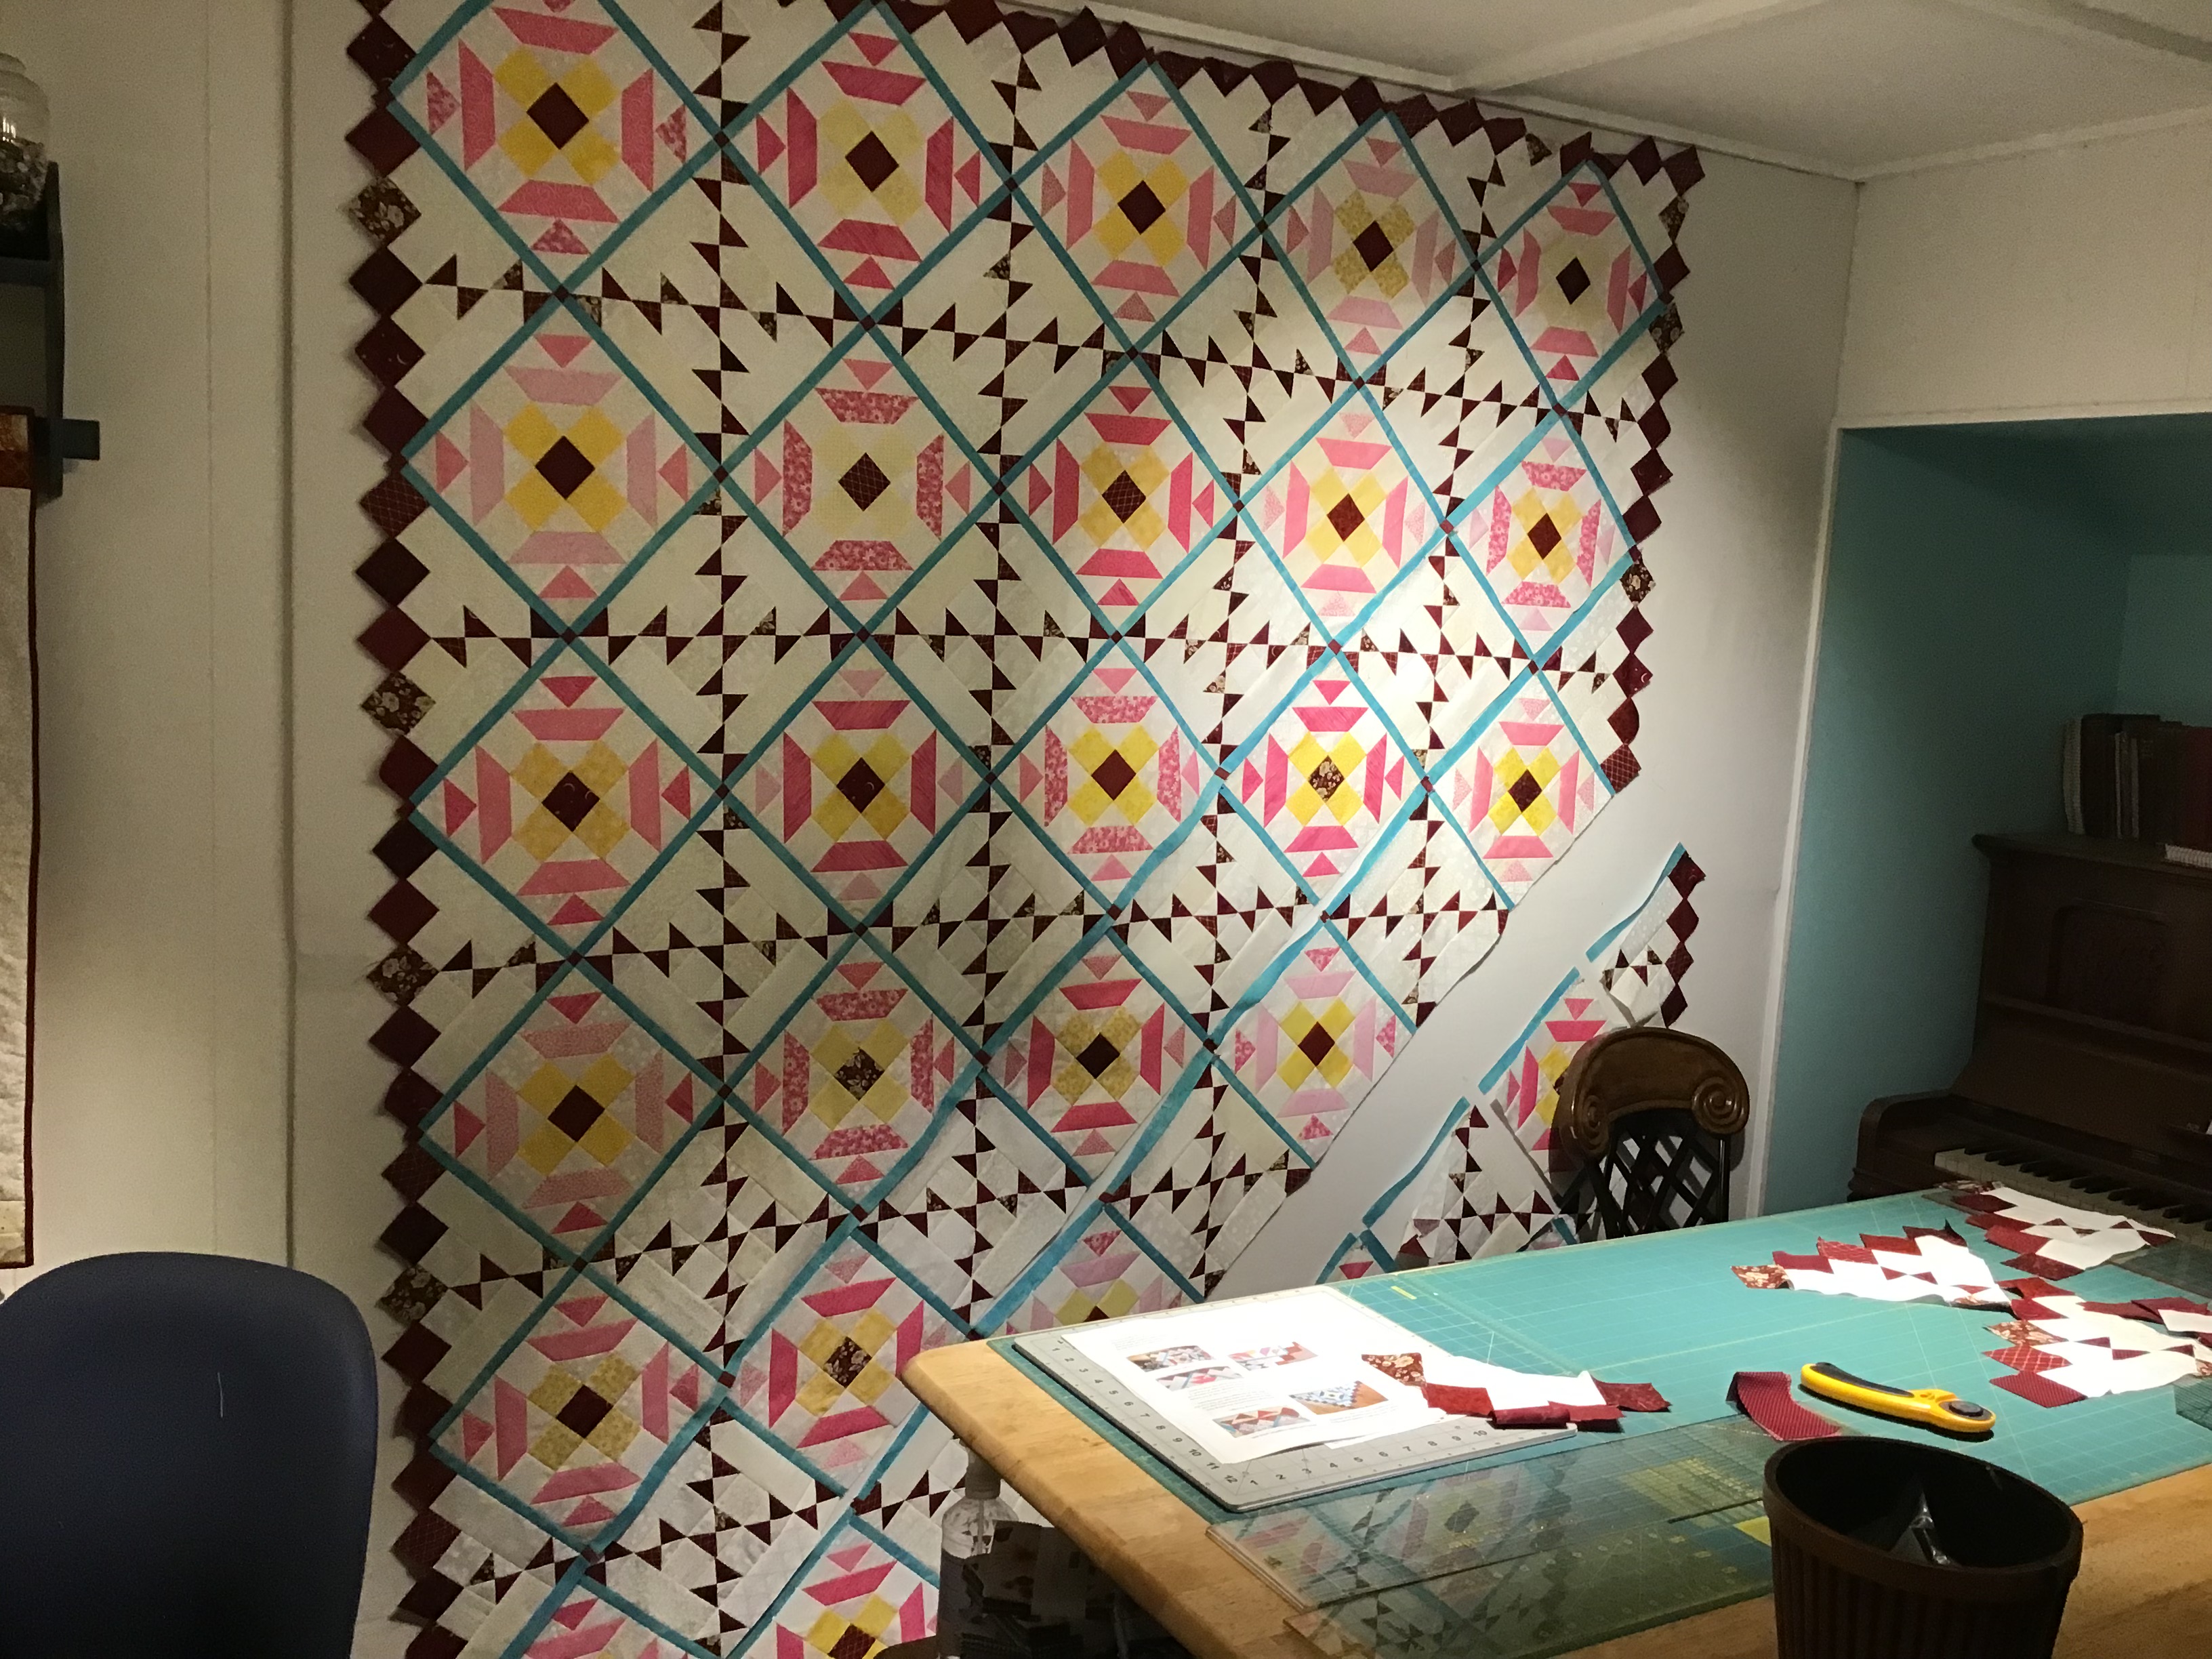
I finished (as far as I was going to) Bonnie Hunter's mystery quilt from 2021 (a year late).  It wasn't really my favorite color palette and I was too lazy to do the final border.  My sister likes it though, so she'll get it after I get it quilted.  Maybe she'll even help quilt it once I get my "new" longarm figured out.


I finished a wall quilt to hang during the Summer.  I didn't get a photo of it after I quilting it, but here it is assembled.


I finished Night Train II by Elizabeth Spurlock.  That means I have the set done now.

Night Train I (finished in 2008):


Night Train II (finished a couple of weeks ago):


In February of this year, hubby and I attended our industry's convention (Awards and Personalization) in Las Vegas.  The convention was at Paris Las Vegas and that's where we stayed.  It was our first time attending since 2008!


This update is rather sad, in August, hubby and I had to put down our cat Spooky who was just one month shy of 17.  Here she is under the Christmas tree while I was decorating it three years ago.


On October 7, hubby and I adopted 2 kittens (sisters) from our local PAWS.  Meet Freya (striped) and Dolly (gray and white).  They were 3 months old when we got them.


I started another One Block Wonder quilt.  Here is the fabric I'm using:


....and here is my progress as of yesterday:


I promise that I'll try to update more frequently, rather than 14 months apart!

Happy Stitching!

Stacy


Friday, March 26, 2021

Clean Craft Room!

Please know that if you purchase via any of the links in this post, I earn a small commission at no cost to you.

Hello Everyone!

I recently cleaned up my craft room.  Woo hoo!  While I’ve always liked my little room, now I LOVE it!

I took out about 10 boxes of "stuff" that I'll never use.  I'm going to sell it at our local auction house.

There are still a few little "tweaks" I want to do, painting is one of them, but for the most part it's done.  Gotta find my jar of spackle - it seems to have disappeared.

Here are some views of my room now.

The staircase, some storage, the quilt I'm hand-quilting:


The staircase with the twinkle lights on, some wall quilts, my fair ribbons:


My cross stitch WIPs, quilting templates, and my Christmas strings quilt:


Looking up the staircase:

My quilt, cross stitch "station" (glider rocker and floor stand), papasan chair, and more storage:


More storage, my tv & dvd player, craft table, stuffed animal storage, and desk:


Some notes about the room:

The gray storage cubes are from Amazon.  

The Grace EZ3 frame is from Amazon (Grace stopped manufacturing them).

The scroll frames and stands are from Artisan Design in Oklahoma.  I LOVE them!  I do not have an affiliate link with them.

Happy Stitching!

Stacy

Sunday, February 7, 2021

This is a doozy! (In a terrific way)

Hubby finished the custom cutting table he was building for me! I went from the rickety, too-short, table in this photo...


...to this table:


The old table was 35" high - way too short for my 5'10" height. I was suffering from backaches if I spent too long at it.

The new, gorgeous table is 39.5" high and sturdy as can be! He used the bases from two treadle machines for the legs (one from a Singer on the right, one from a White on the left).


The two levels are two dining room table tops. The drawers in between are from the treadle machine cabinets. As you can see, even my cat Spooky approves!


Now I have a table that's the correct height, plus has lots of storage space! My rulers, trash can, and pin cushion now live between the drawers and off the table top. I have so much storage now, I don't know what to put in all of it! Don't worry, I'll figure something out.


Yes, I'm spoiled. Yes, I'm keeping him!

For those who will want to know: the quilt on the design wall is Bonnie Hunter's last mystery quilt, Grassy Creek; the easel on the table top is for my iPad while I'm working; the little jars hold some pins and Wonder Clips. They're on the table so I can throw the clips/pins in them as I take them out of my pre-assembled parts for the quilt. Normally, the little jars live in my closet with their 10 other friends. ;-)

Happy Stitching!

Stacy

Tuesday, April 30, 2019

A Couple of Quilts

Hey Everyone!

These aren't recent finishes but ones I realized that I'd never photographed.

First up, we have a scrappy Log Cabin quilt.  The measurements are all approximate because it's been washed quite a few times. :-)

Set 6 blocks x 7 blocks.  Finished block size:  7½".  Red border is 3" and blue border is 5½".  This was machine pieced and hand quilted.


The hand-quilting was done in vertical rows using a stencil.  I don't know what the name of the stencil is as I lent it to my sister and she still has it.  It's a floral-vine type design.


The second quilt is a happy block.  That's not an official name, it's just what the group I was in called it.  I did this one as an exchange* with an online group I used to belong to.  My theme was blue & white, so the centers are all blue fabrics and the borders are all white fabrics.  Looking at the quilt that might not seem to hold true - when I washed it, one of the blues bled and some of the whites soaked it up.  :-)


There are 2 different sized blocks in this quilt.  It is laid out with a 5 block x 6 block center then bordered with the larger blocks.  I used sashing and cornerstones to make the overall dimensions of the smaller blocks fit inside the larger border blocks.

My sister and I both quilted this on a Handi-quilter longarm that I had rented time on at a now-closed shop in Olympia, WA.  I'd do one block, then she'd do one, and so on.  It was great because it meant neither one of us was standing for too long and we finished this top and another within 6 hours.  It was the first quilt either of us longarmed, so I didn't care what it looked like, I just wanted us to get comfortable with the machine.  We went old-school on it - as in grade school.  Like those random drawings we used to do and then fill in the spaces with different colors.


I decided to keep the binding scrappy as well.


 * Here's how the exchange worked:

For the quilt's center blocks, I sent (6) 3½" squares (blue) to the people in my group.  Usually 5 other people.  They kept one of the squares for themselves.  They put 2½" borders (white) on my squares and mailed them back to me.  The color choices were only for my quilt.  The other members sent random colored squares to me that I put borders on and mailed them back.

For the bigger, border blocks, the centers (blue) were 6" and also got 2½" borders added.

Happy Stitching!

Stacy

Thursday, February 21, 2019

Finish It Up Challenge - another one done!


Hey Everyone!

I've finished another item on my FIU list!  I listed pretty much everything I had set aside for my Etsy shop, XedStitches!  All I can say is, "Whew!".

I listed:

  • 38 quilting patterns
  • 18 quilting magazines
  • 7 sewing patterns
  • 8 quilting books
  • 10 cross stitch magazines
  • 5 cross stitch leaflets
  • 6 cross stitch kits (including 2 Winnie the Pooh!)
  • 1 rescued finished cross stitch piece (Hinzeit Mini Blocks, Fishing - framed!)
I'm tired now but glad I got it done!

Happy Stitching!

Stacy

Monday, January 7, 2019

Quilting Stencil Storage

Disclosure:  Some of the links below are affiliate links, meaning, that at no additional cost to you, I will earn a commission if you click through and make a purchase.


I was having issues storing my quilting stencils.  I had them on two nails in the wall of my sewing room.  This really didn't work well.  It seemed every time I wanted a specific stencil, it was at the back!

After searching the internet and Pinterest (love me some Pins!), I saw where someone had used a lamp shade to hang their scrapbook embellishments.  They had basically made a stand with a lamp shade at the top so the whole thing looked like a floor lamp.  I don't have that much floor space but was still intrigued by the lamp shade part.

Thanks to hubby's brain and other help, I was able to achieve what I wanted.  Really, love my hubby!  He acquired the shade for me from a local junk shoppe - no charge (the owner's a friend).  I had given him the minimum dimensions that I needed:  6" (15.24cm) diameter at the top, at least 6" from the top ring to the bottom ring, at least 13" (33.02cm) diameter for the bottom ring.  These dimensions allowed enough room for the stencils to be hanging opposite each other on the shade without overlapping across the diameter.

I didn't take photos of the process, but I'll tell you what I did.
  • Removed all the fabric from the shade
  • Cleaned off all the glue on the rings with a Sheffield knife * (see below)
  • Did a light rubdown with steel wool
  • Did a cleaning pass with a rag and window cleaner
  • Spray painted the frame silver (actually, hubby did this - he's better at spray painting)
That's all it took to prep the shade!

Since I didn't want it to be a floor stand, I decided I wanted to hang it from the ceiling (I have a low 7' ceiling).  I didn't know how to achieve this, so hubby's brain helped.  We went to Home Depot and got a hanging bolt (about 4" long overall).  I knew what I had in mind, but would never have been able to explain it to anyone else.  For those, like me, who don't know what a hanging bolt is, it's a combination of a bolt and a screw.  One end is pointed like a screw and the other is threaded to take nuts.  It doesn't have a head on either end so it's perfect!

I'd never used one before, so hubby showed me what to do.  He took a nut and put it on the bolt end, high enough to get a second nut on it.  He then put the 2nd nut on until it made contact with the 1st one.  Basically, this "locks" the 2nd nut in place so that you can use it as a handle.  After that, I was on my own for installation.  This is fine because I do know my way around tools...just not hanging bolts.  :-)

For installation, I held the lamp shade frame where I wanted it, making sure to allow enough room all around for the stencils.  I used a pencil to mark the center of the frame on the ceiling.  Next, I took a drill fitted with a bit just a hair smaller than my hanging bolt and pre-drilled a hole for the bolt.  Using a ratcheting socket wrench, I fit the socket over the lower nut on the hanging bolt and screwed the bolt into the ceiling.  I did have to move both nuts a little further up the bolt so that only the lower nut (the "handle") was in the socket. 

My new contraption doesn't weigh much but I did make sure that I was screwing it into a stud, just to be safe.

I then removed the lower nut but left the upper one on.  I don't want my shade to rock back and forth so the upper one acts as a stop.  I then fit the shade onto the bolt and replaced the bottom nut.  There is a tiny bit of room between the nut/shade/nut so that the shade can spin but it doesn't rock.

I then hung the stencils from the shade using S hooks with clamps. * (see below)  Here's my completed stencil storage:


 ..and here's a close-up.  You can see the hanging bolt and nuts plus the hooks I used.


...and here are the affiliate links that I mentioned at the start:


Happy Stitching!

Stacy


Monday, December 17, 2018

It's a mystery, part 4


This week's clue had options on whether to make pieced blocks or not.  There were different piecing options included as well.  I went with the lazy woman's way and didn't piece the blocks.  This option will still give me great color variations in my quilt but also gave me time to finish up the previous clues!

Here are my "blocks" for this week's clue:


I was also able to completely finish off my red 9-patches (all squared up) and my green half chevrons (also all squared up).  Both of those sets are also at the correct numbers I needed.

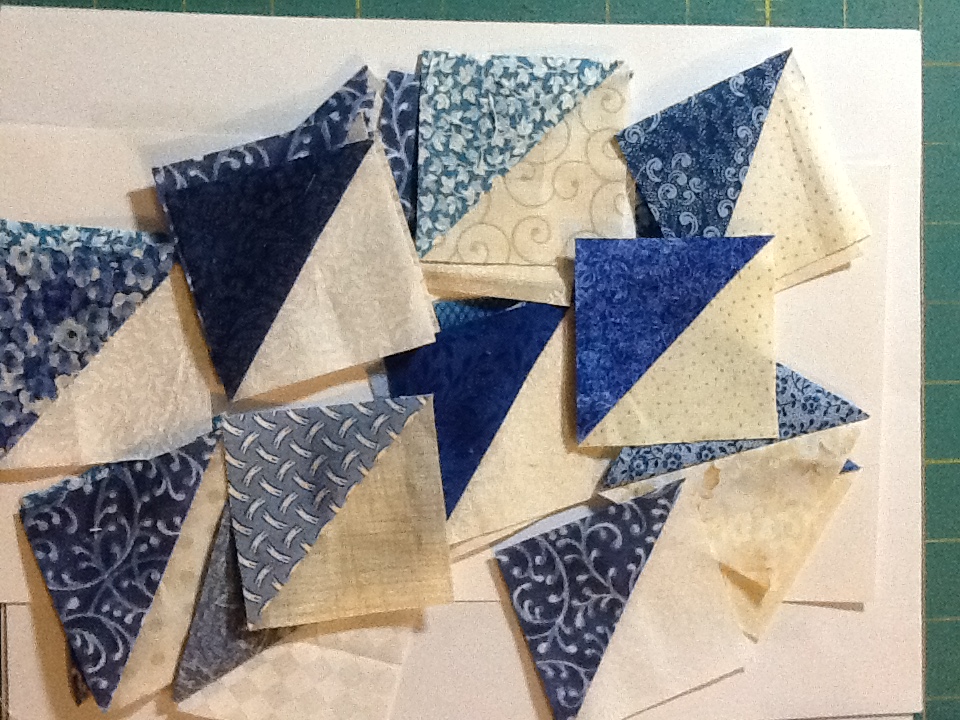
I also worked on getting my blue HSTs (half square triangles) squared up and counted and the green HSTs that were "buddies" from the half chevron blocks.  I haven't finished these yet, but hopefully by this Friday's clue I'll be all caught up.

Here are the blocks that I have totally done:


You can see how everyone else is progressing, including some cool alternative color choices, at this Monday's Link Up!

Happy Stitching!

Stacy

Monday, December 3, 2018

It's a mystery, part 2


I'm so proud of myself!  I finished cutting and stitching all of the pieces I needed for clue #2!  I still need to
iron and square them up, but I'm ahead of where I expected to be on a Monday.

Here is a sample of my "blocks" for clue #2:


I was surprised by how many blues I ended up with.  It was either 14 or 17 different fabrics.  I'm going for ultra-scrappy on this one.  lol

Hopefully, by the time the next clue comes out on Friday, I'll have ironed and squared all of the blocks from clues 1 & 2.  I adjusted my ironing board so that I could sit down to use it in order to save my back some grief.  It seems to be working so far!

See others who are working on this at the Quiltville Monday Link-Up for the mystery.

Happy Stitching!

Stacy

Tuesday, November 6, 2018

Antique quilt

I know that technically, this quilt might not be "antique" (100 or more years old), but it's close!  The top was made by my great grand aunt who passed in 1945, so at the very least, it's 73 years old.  The pattern is Grandmother's Flower Garden.

My backing fabric is a tone-on-tone white, 108" wide piece.  I did launder it before I started.  The batting is Warm & Natural, off the roll from my local quilt shop.

The fabrics are cottons, flower sacks, and something silky.  That's just in the bit that I've quilted.  Who knows what other fabrics are in it?  I guess I'll find out when I get there.  Some of the hexies are even pieced with seams running through the middle of them!

The yellow centers and the two surrounding rows are what forms a "flower".  The green hexagons (hexies) are the path between the flowers.

I don't have a photo of the entire quilt...yet, but here is a shot of it as I was loading it on my quilting frame.  The bottom edge wasn't pinned yet which is why it looks wrinkly.


I've started on hand-quilting it and have made 2 complete "passes" and started on my third.  A pass is filling in the available workable area from center to left then center to right (or vise versa).

The first pass, took care of the bottom yellow border and some of the green path hexies.  I'm using Meandering Leaves as the stencil for the yellow border and I'm stitching with a green from Essential Threads.  For the green hexies, I'm using the 6-petaled flower from the Dritz stencil Cornered Feathers 4" and I'm using Gütermann thread in a variegated yellow.


For every green hexie, I'm putting money in a jar.  A penny each for the first 4, the 5th is a nickel, then pennies until the 10th which is a dime, the 25th is a quarter and so on.  The money that I save up will go toward my new quilting studio (see previous post for more info).

The flowers are getting quilted in simple arcs which creates 12-petaled flowers.  I'm using the yellow Gütermann thread for these, too.


I've completed 3 of the 5 flowers on the first row of the quilt and I'm getting close to the last of the green hexies heading left from the center.  It will be nice to get to the left border just for a color change.

Happy Stitching!

Stacy

Monday, February 5, 2018

2018 FIU Challenge Update

Hello!

I have progress on my list!  It's not much...yet, but it is better than nothing.

  • Stitch a design for the candlescreen that I have
  • Finish hand-quilting the Bullseye Quilt
  • Finish the log cabin star wall hanging
  • Start hand-quilting my grand aunt's grandmother's flower garden quilt top
  • Clean up the nook area in my sewing room - made a start, barely
  • Finish the mystery quilt top I've started - finished 3 February
  • Clean and re-frame my hummingbirds cross stitch
  • Post all the stuff I have waiting to be listed in my Etsy shop
  • Clean up my scrapbooking area
  • Make a start on archival scanning of all my family photographs
  • Get my printed recipes put into my recipe software (Living Cookbook)
Here's a photo of the finished quilt top:


This was Bonnie Hunter's On Ringo Lake mystery.  It's the first of her mysteries that I've done.  I used her suggested colors because they were out of my comfort zone and it was a way to expand my personal horizons...so to speak.  ;-)

As a mystery quilt, this has been retired.  However, she does have the pattern available for purchase on her website (see link above).

Happy Stitching!

Stacy

Wednesday, January 3, 2018

2018 Finish It Up Challenge


Well, this has helped me the last couple of years, so I'm going to do this again!

Here's my list for 2018:
  • Stitch a design for the candlescreen that I have
  • Finish hand-quilting the Bullseye Quilt
  • Finish the log cabin star wall hanging
  • Start hand-quilting my grand aunt's grandmother's flower garden quilt top
  • Clean up the nook area in my sewing room
  • Finish the mystery quilt top I've started (all clues haven't been posted yet)
  • Clean and re-frame my hummingbirds cross stitch
  • Post all the stuff I have waiting to be listed in my Etsy shop
  • Clean up my scrapbooking area
  • Make a start on archival scanning of all my family photographs
  • Get my printed recipes put into my recipe software (Living Cookbook)

I might "find" a few more items to put on this list but I think I'll leave it here for now.

Happy Stitching!

Stacy

2017 FIU final progress report


Ok, here is what my final FIU list for 2017 looks like:

Here's my list for 2017:
  • Put all my loose floss on bobbins
  • Stitch a design for the candlescreen that I have
  • Assemble my Happy Blocks quilt top
  • Assemble my Crumbs quilt top
  • Finish hand-quilting the Bullseye Quilt - made it just past the 50% mark
  • Finish the Log Cabin Star wallhanging - need to add borders
  • Hand-quilt at least 10 blocks on my Christmas Strings quilt
  • Finish my Through the Storm cross stitch as a free-standing block
  • Finish my green Temari ball
  • Finish 1 of my Santa kits (not cross stitch)
  • Make bookcases for my sewing room
  • Decorate wooden "S" for my sewing room

I didn't finish as much as I'd like on last year's list but at least some of it did get completed and others saw progress.  I am going to do this again for 2018 but I'll list that in a separate post.

Happy Stitching!

Stacy

Sunday, November 12, 2017

Progress Report (including Finish It Up!)

This post may contain affiliate links.  There is no obligation to purchase anything and no fee to you if you do.

I know, I know.  I haven't shared anything lately.  (hangs head in shame)

I have been working on "stuff" though!  First up, my progress on Little Bee Eater (retired) by Malcolm Bowling and HAED.  I really only work on this little guy when it's slow in my trophy shop and I'm too lazy to do anything else.


This is a few hours worth of progress over the course of a week.  I'm looking forward to hopefully more progress on him soon.  He's stitched on 28ct. hand-dyed fabric, 1x1, full crosses.

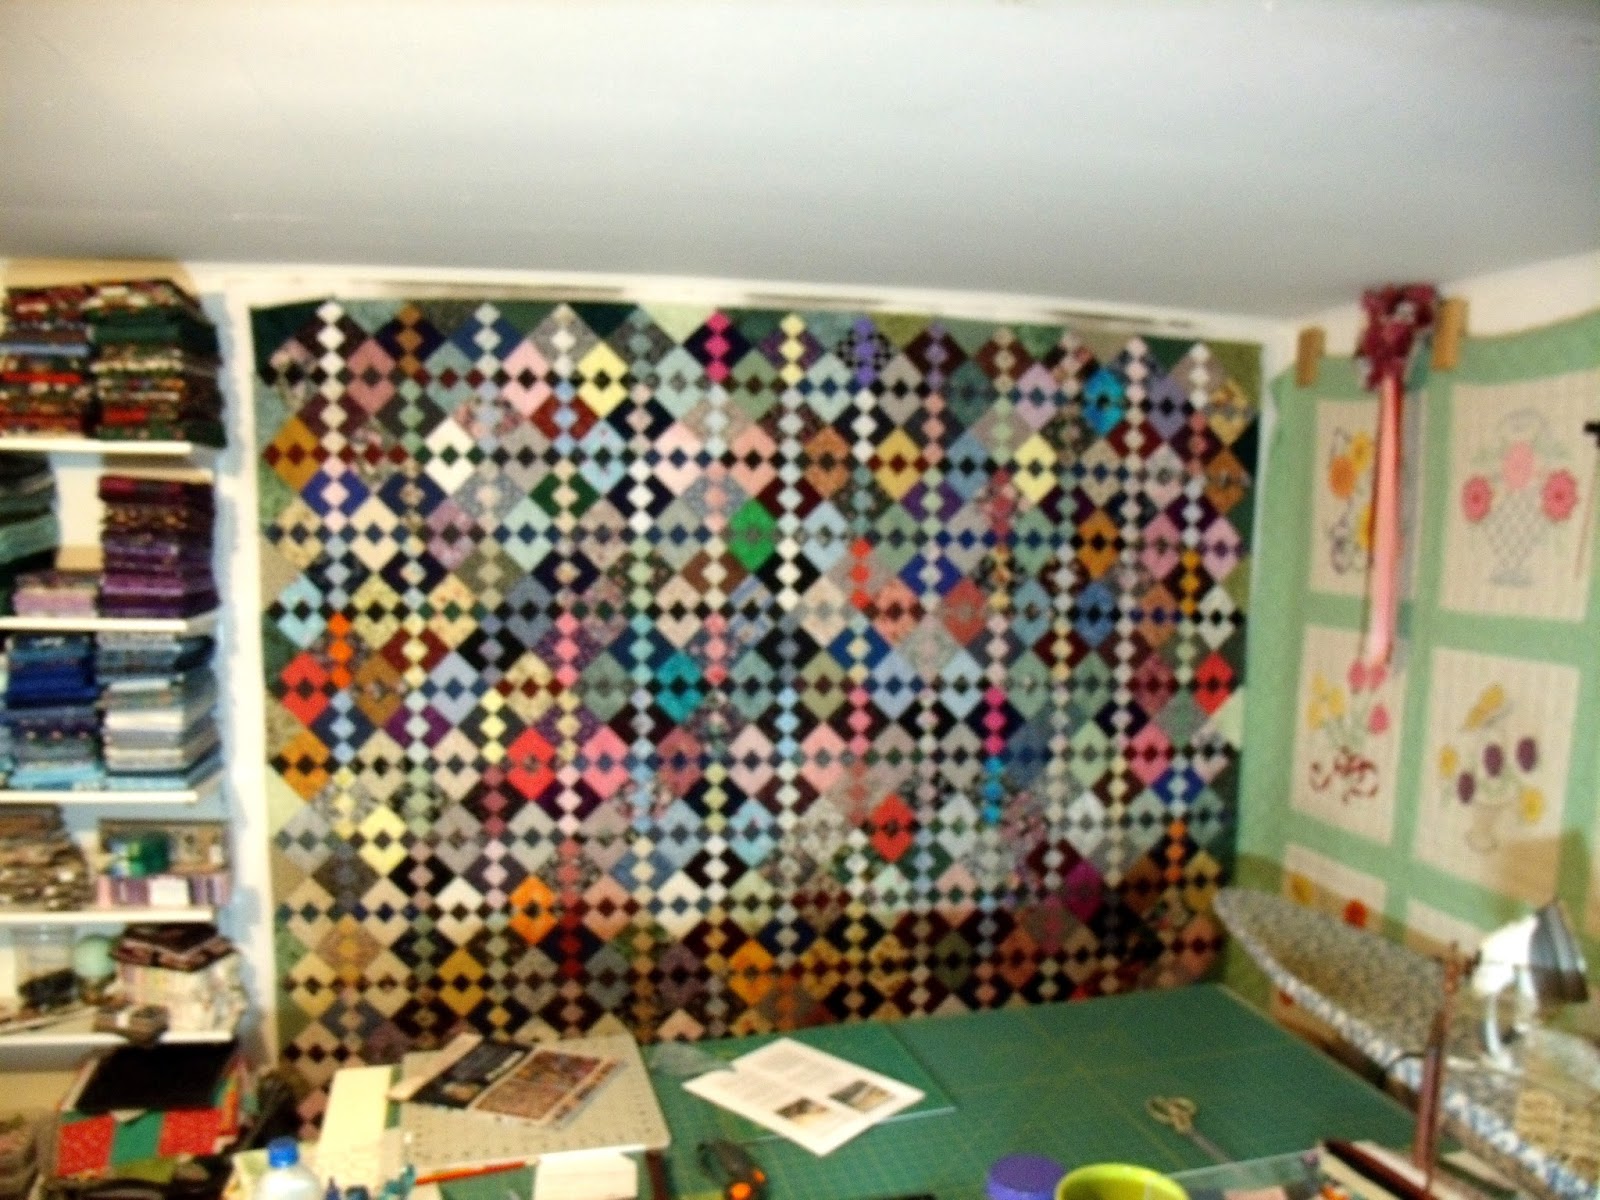
Next up, I've just finished another quilt top!  That makes the 3rd top I've completed since late this Summer!  The quilt is actually sideways on my design wall.  I only have 7' ceilings in my sewing room so my wall is wider than it is tall.  Sideways was the only way the finished top would fit on the wall.


The pattern is Carolina Chain from the book Addicted to Scraps by Bonnie Hunter.  This is the first pattern in the book.


On one of my FIU projects, I have made progress!  I'm getting close to 50% finished on hand-quilting my bulls eye quilt!

Here's a close-up of some of the quilting.  In this photo, you can see the 3 different patterns I'm doing:  oak leaf stippling in the black border, a simple twist in the white border and rose stippling in the body of the quilt.


The top of the pink/green/yellow/black square on the left is the middle of the quilt.  I'm working left to right as I quilt and the borders plus the first two blocks are nearly done.

Here's a fuller picture of the quilt:


Another of my FIU projects is finally seeing the light of day:  my Log Cabin Star wallhanging.  I haven't done anything apart from digging it out and searching for the directions.  It's a quilt-as-you-go (QAYG) project which is part of the reason I haven't finished it.  I don't like this way of doing it.  It works just fine, I just don't enjoy it.  Thankfully, it is only a wallhanging.


It's made of Christmas prints.  I am going to finish this...soon.  I want to give it to my mother for Christmas (yes, Christmas of 2017).  It will have a border added to it and I'll put a hanging sleeve on it.  I'll be glad to get this one done!

Happy Stitching!

Stacy